
How To Choose The Right Gel-Effect Nail Polish: What Actually Matters
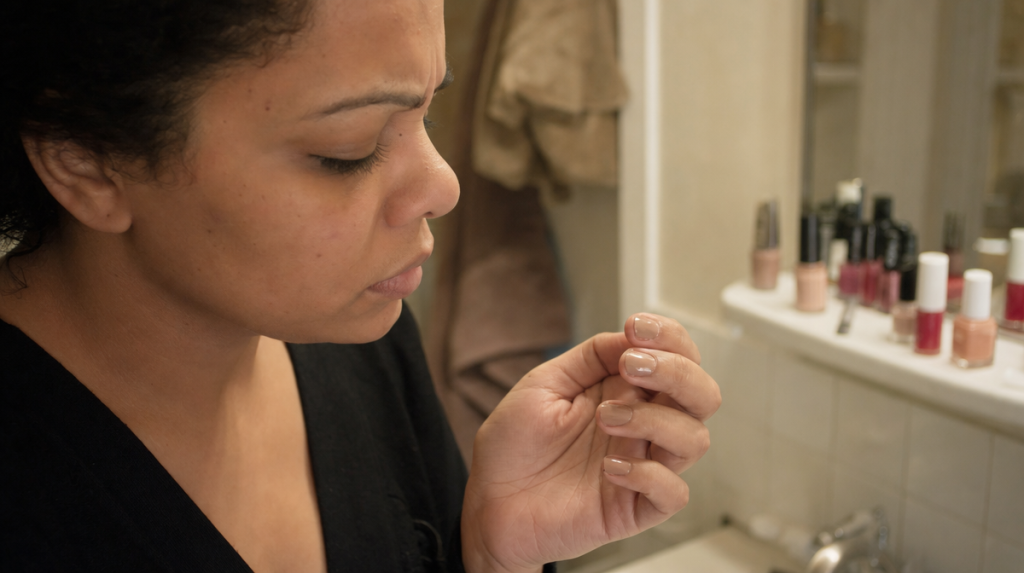
David Nakamura, Senior Health and Science Editor. You are standing at the bathroom sink, angling your hand under the light, watching yesterday’s manicure already dulling at the tips. Somewhere in a drawer are four half-used bottles of gel-effect polish, each promising the same thing: salon shine, no UV lamp, no chips for days. You have typed some version of “best gel-effect nail polish” into a search bar more than once, and the answers never quite explain why one bottle glides on like satin while another drags and streaks. Here is the useful fact most labels do not tell you: the phrase “gel-effect” is a marketing term, not a regulated formula category. Any brand can print it on a bottle. What actually determines whether a polish looks glassy and lasts is the resin-to-solvent ratio and how the film cures as the solvent evaporates. Once you know how to read that on a shelf, you stop guessing. What “Gel-effect” Actually Means On A Bottle Traditional gel manicures cure under a UV or LED lamp, forming a hard, cross-linked polymer shell. Gel-effect polishes are ordinary air-dry lacquers reformulated with a higher ratio of film-forming resin, which is what creates that thick, glassy look without a lamp. Think of it the way you would think of paint. A thin, watery paint dries flat and dull. A paint loaded with more binder dries thicker and glossier, almost like a coat of varnish. Gel-effect polish works the same way: more resin, less thinner, a shinier film once the solvent evaporates. The mistake most shoppers make is assuming “gel-effect” means the polish contains actual gel chemistry or will behave like a lamp-cured manicure. It will not. It will not match true gel durability, and understanding that upfront changes what a fair test of the product looks like. “Consumers often expect UV-gel performance from a formula that was never designed to cross-link the way lamp-cured gels do,” notes one dermatologist who studies topical formulation interactions. The distinction matters less for looks than for how you judge longevity claims on the label. Finding Your Undertone In Daylight Color payoff looks different in a drugstore aisle’s fluorescent light than it does on your actual hand in daylight. Fluorescent lighting shifts reds toward orange and can make a true berry look muddy. The simple self-test: swatch the polish on your nail, then step near a window or outside for ten seconds before deciding. If you cannot test in person, hold the bottle against your wrist next to a plain white paper in daylight, since white paper acts as a neutral reference the way a photographer uses a gray card. US shade language typically sorts skin tones into fair, light, medium, tan, and deep, but nail color reads differently than makeup because nails have their own undertone independent of facial skin. A deep berry can look purple on a cooler undertone and brick-red on a warmer one. The mistake: judging a color permanently by a single swatch under store lighting. Retail lighting is optimized to make everything look saturated and glossy, which is precisely why professional colorists check swatches outdoors before finalizing a shade. The Two-coat Rule And Why Thickness Backfires It is tempting to apply one generous coat to save time. This is the single most common cause of early chipping. A thick layer of resin-heavy polish dries on the surface before the solvent underneath has fully evaporated, leaving a soft, unstable layer beneath a hard shell. Days later, that trapped softness shows up as a dent or a peel, often exactly where your nail flexes most, at the free edge. Two thin coats, each allowed roughly two minutes to set before the next, let solvent escape evenly through the whole film. The result is a harder, more uniform finish that resists chipping longer, according to formulation researchers who study how solvent evaporation rates affect coating durability. Self-test: after your first coat, touch the edge of the nail lightly with a clean fingertip after two minutes. If it leaves a fingerprint, wait longer before the second coat. Rushing this step is the single biggest reason gel-effect polish underperforms its own packaging claims. Reading Chip Patterns Like A Diagnosis Where a manicure fails tells you what to fix next time, the way a mechanic reads tire wear to diagnose alignment. Chipping concentrated at the tips usually points to a weak or missing topcoat, or a topcoat applied before the color coat fully set. Lifting that starts at the cuticle edge, where the whole flake separates in one piece, usually means oil, lotion, or moisture was trapped against the nail plate before application. A dermatologist who studies dermal delivery and topical formulation interactions frames the nail similarly to skin: “Any coating applied over an oily or moisture-compromised surface will struggle to adhere, regardless of how good the formula is on its own.” The fix for cuticle-edge lifting is almost always preparation, not product: wiping the nail plate with rubbing alcohol immediately before polish removes oils that lotions and cuticle creams leave behind. The fix for tip chipping is usually sealing the free edge of the nail with each coat, capping the tip rather than stopping at the top of the nail. What Realistic Wear Time Actually Looks Like Marketing language promises up to ten or fourteen days of wear. In practice, most gel-effect formulas, applied without a lamp, hold a glassy finish for roughly four to seven days before visible dulling or tip wear begins, with results varying by hand use, water exposure, and dish-washing frequency. Humid summer conditions on the East Coast can soften the film slightly faster, since higher ambient moisture slows solvent evaporation during the initial cure. Dry winter air with indoor heating tends to help polish cure harder, but it also dries the surrounding skin and cuticle, which can indirectly speed up lifting at the edges. The honest self-test for wear: photograph your manicure in the same lighting on day one and day five. Compare gloss level, not